Your IP: 216.73.217.142 | Your location: United States
Windows 7 - OpenVPN App
RECOMMENDED: temporarily disable any antivirus software you may have running prior to installing the software to ensure it installs correctly.
Step 1 - Download
Download and save "Wtva-OpenVPN-v3.exe" application installer and then start it by double clicking the installer icon.
or
Please login or subscribe to generate your download link
If you are using Internet Explorer click Run. If prompted confirm any User Account Control and
security warnings. In IE9/IE10/IE11 to do this you may need to click Actions then Run anyway.
If you are using Firefox click Save and then either click the green download arrow and click on the
downloaded file to run it or go to your Downloads folder and double click the downloaded file.
If prompted confirm any User Account Control and security warnings.
If you are using Google Chrome click on the downloaded file to the bottom left.
If prompted confirm any User Account Control and security warnings.
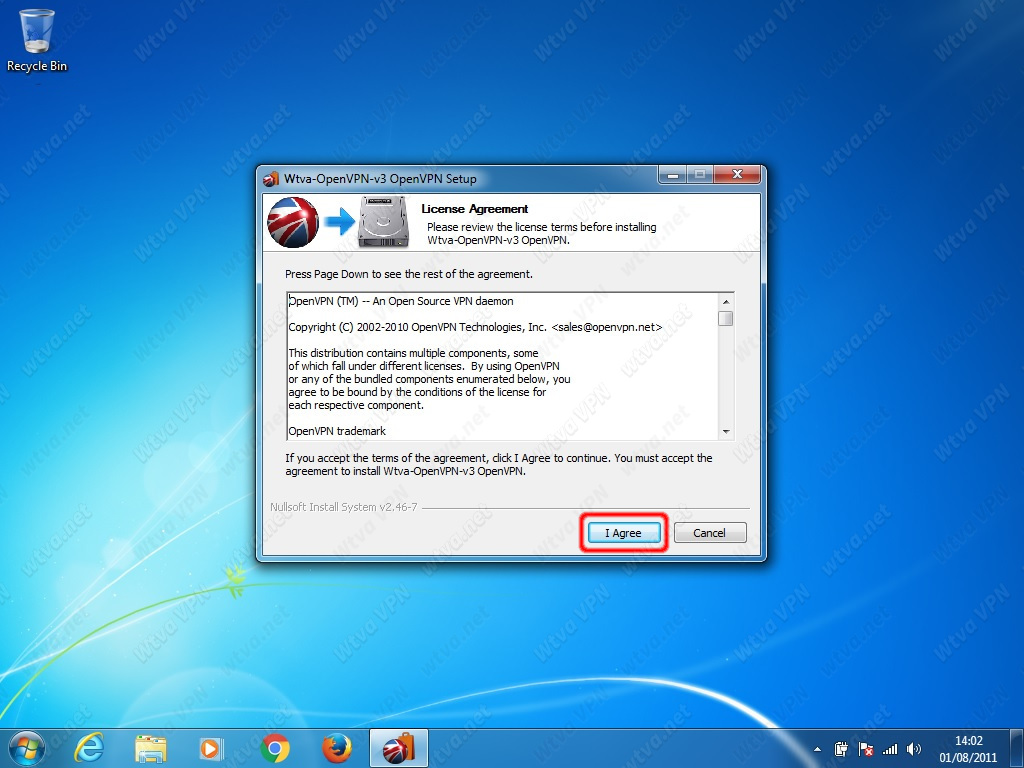
Step 2 - Install
Go through installation steps confirming the default options.
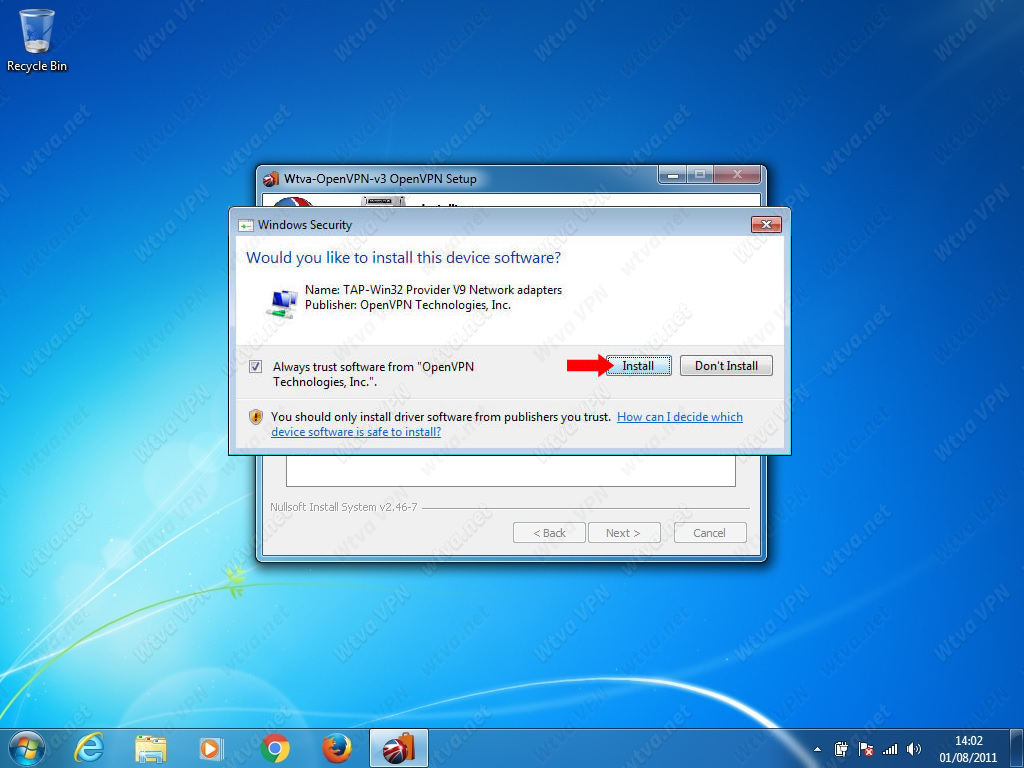
IMPORTANT: If installing OpenVPN for the first time on this computer - you will be prompted to install the
TAP-Win32 Network Adapter, this bit of software is required to connect to us and you must install it,
so click on Install to continue.
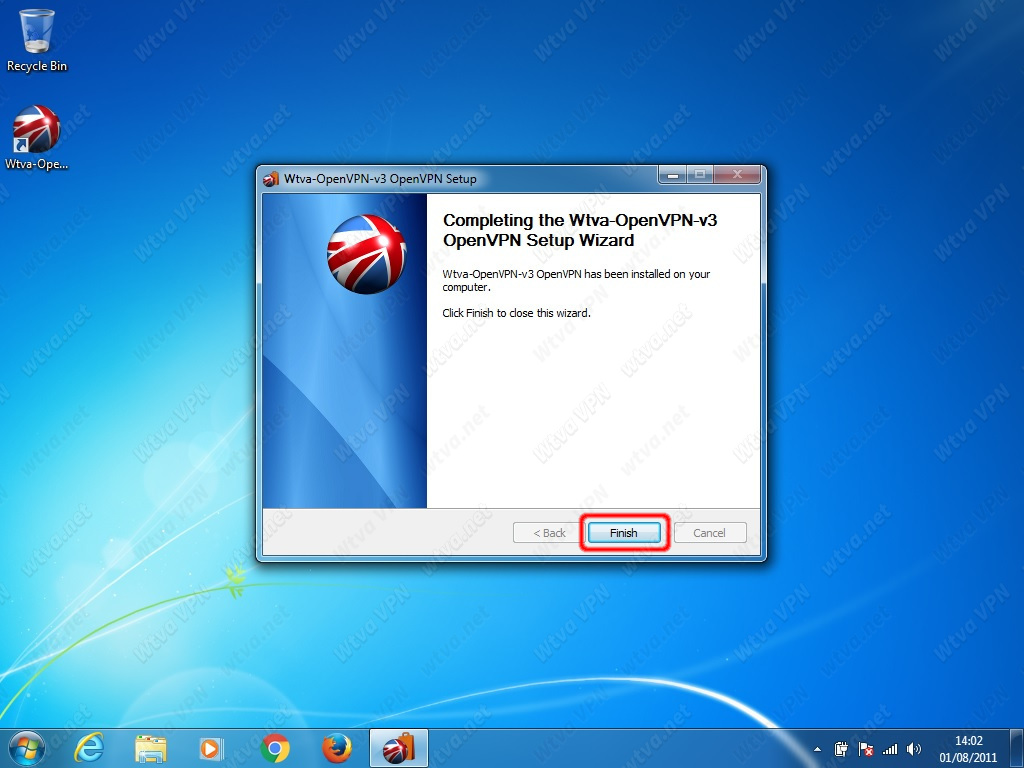
Go through rest of the installation steps confirming the default options.
Finally click Finish and that's it. You have successfully installed the Wtva-OpenVPN application.
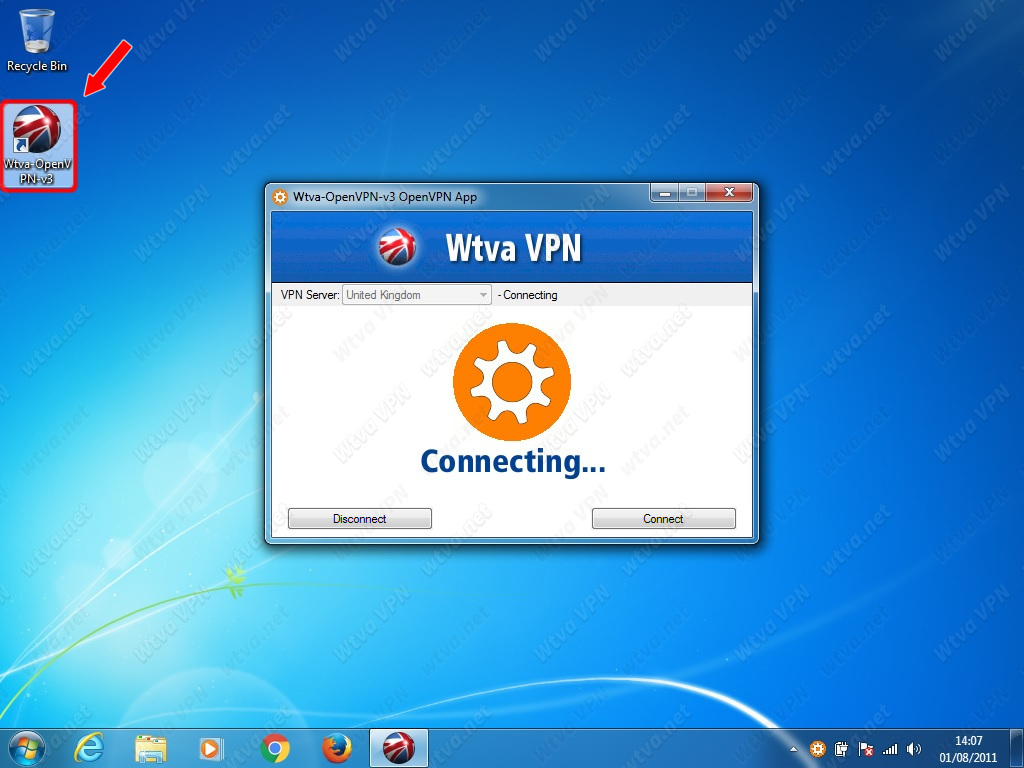
Running the Wtva OpenVPN Application:
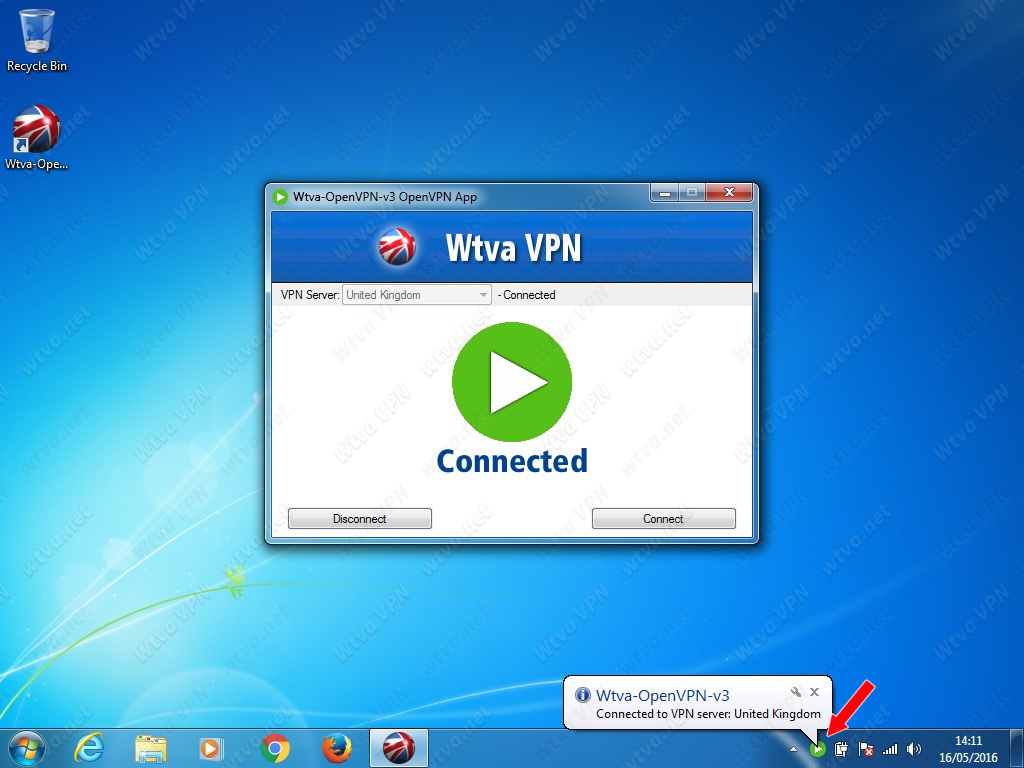
Now that you have installed the application you will have a new Wtva-OpenVPN desktop icon. Simply double click the icon to launch the App.
The Application Control Window will appear, and start connecting with one of our VPN servers.
Wait several seconds while the VPN connection is established - eventually the orange rotating "gear" status icon will change to green "play" icon with text "Connected" underneath.
Congratulations you can now access any UK website without being restricted.
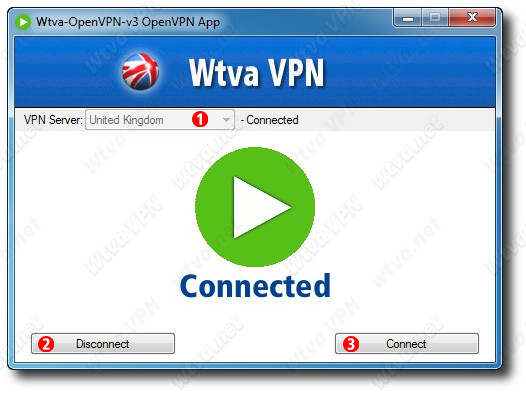
Controlling the VPN connection.
When VPN is connected, you will be accessing the Internet with UK IP address.
To disconnect the VPN - press the Disconnect button (2). Your internet connection then goes back to normal.
VPN Server selector - choose individual VPN servers (normally you don't have to touch this, the default option: "United Kingdom" will select VPN server automatically)
Disconnect button - Deactivate VPN.
Connect button - Activate VPN.
There is no need to keep the control window open while using the VPN. You can safely close it - the VPN connection will continue to work in the background. Control window can be launched again using the same desktop shortcut.
Application also installs a tray icon indicating VPN connection status, and allowing easy access to control window, as well as some common operations from its popup menu.
Now you know how to Connect and Disconnect VPN, you can start your web browser and access the Internet freely and securely through our VPN servers. Enjoy!
Problems connecting? – Try the alternative connection method below:
 United States